Welcome back to the crew. If your garage door is slamming into the concrete like it owes you money, or reversing halfway down for no damn reason, you’ve got a calibration issue. Today, we are fixing two of the most critical settings on your opener: Travel Limits and Down-Force Sensitivity.
Get this wrong, and you risk burning out your motor, breaking a torsion spring, or worse—crushing something (or someone) you care about. Let's get it dialed in right.
Part 1: Setting the Travel Limits
Travel limits tell your garage door opener exactly where "fully open" and "fully closed" are. If the down limit is set too deep, the rail will bow and strain the motor. If it's not set far enough, you leave a gap for pests and weather.
How to Adjust Modern Digital Openers (LiftMaster, Chamberlain, Genie):
- Locate the Adjustment Buttons: Look for the "Adjustment" button (often a black or rectangular button) flanked by Up and Down arrow buttons on the back or side of the motor unit.
- Enter Program Mode: Press and hold the adjustment button until the UP button begins to flash or you hear a beep.
- Set the UP Limit: Press and hold the UP arrow until the door reaches the fully open position. Make sure it clears the header but doesn't slam into the bolt stops. Press the adjustment button once to lock it in.
- Set the DOWN Limit: The DOWN arrow will now flash. Press and hold it until the door closes fully and seals flush with the floor. Don't let the rail bend. Press the adjustment button to lock it.
- Cycle the Door: Run the door through one full open and close cycle to let the machine map the parameters.
How to Adjust Older Screw/Dial Openers:
If you have an older rig, you’ll see slot-head plastic screws labeled "Open" and "Close" or "Limit." Turning these screws clockwise or counter-clockwise changes how far the trolley travels. Small adjustments go a long way—one full turn usually equals about 2-3 inches of door travel.
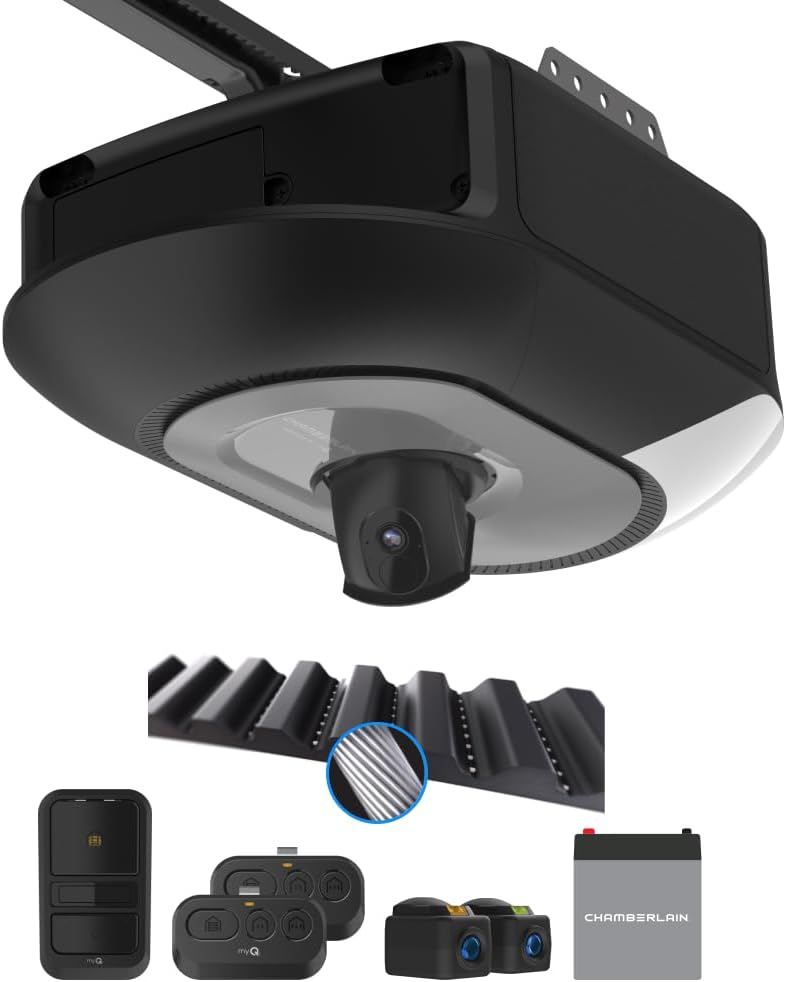
Need an Upgrade? Chamberlain B6630 Smart Opener
If your old opener’s limit switches are stripped out or completely fried, stop fighting it. This ultra-quiet belt-drive Chamberlain features electronic digital limits that you can configure in seconds right from your smartphone.
Check Price NowPart 2: Tuning the Down-Force Sensitivity
Force sensitivity regulates how much resistance the motor will tolerate before it decides it hit an obstruction and reverses safety protocols. If the down-force is set too high, the door becomes a dangerous guillotine. If it's too low, a stiff breeze or a cold day will cause the door to stop halfway down.
The Legal & Safe Adjustment Process:
- Locate the Force Dials/Buttons: On older units, these are screws labeled "Open Force" and "Close Force." On newer units, force is learned automatically during the limit setup, or adjusted via the digital menu.
- The 2x4 Test (The Ultimate Trial): Open your garage door fully. Place a flat piece of 2x4 wood on the garage floor, directly in the center of the door's path.
- Close the Door: Activate the door to close. When the door hits the 2x4 wood block, it must instantly stop and reverse back to the open position.
- Tweak the Settings:
- If the door hits the wood, stays down, and the motor hums/strains: Decrease the Down-Force.
- If the door reverses before even hitting the wood: Increase the Down-Force slightly (or check for binding tracks).

Pro Tip: Replace Your Worn Bottom Seal
Sometimes your limits are fine, but an uneven floor or rotted bottom rubber leaves a gap anyway. Snag a heavy-duty universal U-shape rubber seal to cushion the landing and ensure a perfect closure every time without cranking up your down-force.
Shop Seals NowFinal Checks from the Boss
Once your travel limits and force settings are locked in, grab some garage door lubricant and spray down the rollers, hinges, and springs. A smooth-running door throws fewer error codes and keeps your settings accurate all year long.
Stay safe, keep it oiled, and protect the family.