If you've recently upgraded your garage door opener to one of LiftMaster's newest models, you've likely encountered their brand new Security+ 3.0 technology. Released for the 2025 and 2026 model years, this new platform operates on a specialized 315 MHz Spread Spectrum to support advanced features like 4K video streaming and enhanced encryption.
Programming the new accessories is straightforward, but the steps have changed slightly from the older systems. Below, we'll walk you through exactly how to pair your new LiftMaster Security+ 3.0 remote and keypad.
How to Program the LiftMaster L993M Max 3-Button Remote
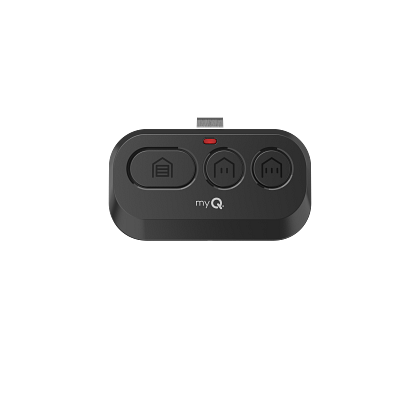
LiftMaster L993M Max 3-Button Remote
The standard 3-button visor remote updated for the new Security+ 3.0 encryption.
Check Price NowProgramming the standard handheld remote only takes a few seconds. Ensure your garage is clear before you begin.
- Locate the Learn Button: Grab a stepladder and find the Learn button on the back or side panel of your new LiftMaster Security+ 3.0 garage door opener. It will typically be a white button on these newer models.
- Press the Learn Button: Press and immediately release the Learn button. The LED indicator light next to it will glow steadily. You now have 30 seconds to complete the next step.
- Press the Remote Button: Press and hold the button on your new L993M remote that you want to use to open the door.
- Wait for Confirmation: Release the button when the garage door opener lights flash or you hear two distinct clicks. Your remote is now successfully programmed!
How to Program the LiftMaster L979M / L979S Wireless Keypad
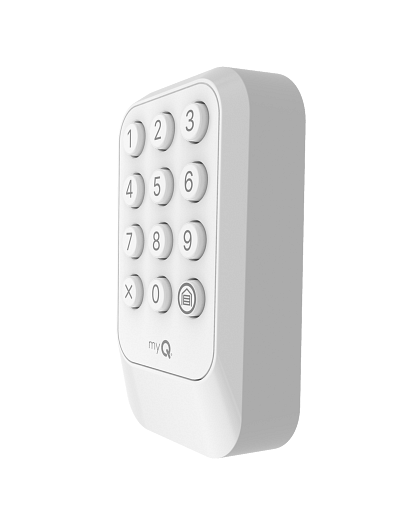
LiftMaster L979M Keypad Max
The updated wireless exterior keypad built exclusively for Security+ 3.0 operators.
Check Price NowThe process for programming the new Security+ 3.0 keypads involves entering a new PIN first, and then syncing it with the motor. Here is how to do it:
- Activate Programming Mode: Press and release the Learn button on your garage door opener motor. The LED indicator will light up.
- Enter Your PIN: Walk over to your newly installed keypad. Enter a brand-new 4-digit Personal Identification Number (PIN) of your choice.
- Send the Signal: Press the HOME (or Enter) button on the keypad.
- Look for the Flash: Watch the garage door opener's main lights. When they flash (or you hear two clicks), the programming is complete.
- Test It: Wait for the keypad backlight to turn off, then enter your 4-digit PIN and press the HOME button again to ensure the door moves.
Changing an Existing PIN on a 3.0 Keypad
If you need to change your PIN down the road but don't want to climb up to the motor, you can do it directly from the keypad as long as you know the current code:
- Enter your existing 4-digit PIN.
- Press and hold the # key until the opener lights flash twice.
- Enter your new 4-digit PIN.
- Press the HOME (or Enter) button. The opener lights will flash again to confirm the code was changed successfully.
Disclaimer: GarageDoorMafia.com is a participant in the Amazon Services LLC Associates Program. If you purchase through our links, we may earn a small commission at no extra cost to you.