Re-programming Wireless Digital Outdoor Entry Keypads
Locked out? Inherited an old PIN code from the previous homeowner? Or maybe you just need to lock down access after a change in personnel. Whatever the case, re-programming your wireless outdoor garage door keypad is a core maintenance ritual that keeps your setup secure and functional.
At Garage Door Mafia, we don't handle cheap fixes—we build solid reliability. Wireless keypads communicate directly via rolling-code radio frequencies to your garage door opener's main logic board. Resetting them requires synchronized steps between the outside keypad unit and the overhead motor head unit.
Security Notice: Modern openers utilize rolling code technologies (like Security+ 2.0). Every time you sync a keypad, a completely unique cryptograph sequence is established, ensuring nobody can sniff your signal out of the air.
Phase 1: Location of the "Learn" Button
Before punching in a brand new combination, you must gain physical access to your overhead opener assembly to locate the programming interface interface module.
- Get a sturdy ladder and position it safely underneath the garage door motor head unit.
- Remove or swing open the plastic light lens cover on the side or rear of the motor assembly.
- Locate the prominent, colored square button labeled "LEARN" or "SMART". Depending on the brand and vintage (LiftMaster, Chamberlain, Genie, or Craftsman), this button might be Yellow, Purple, Red/Orange, or Green.
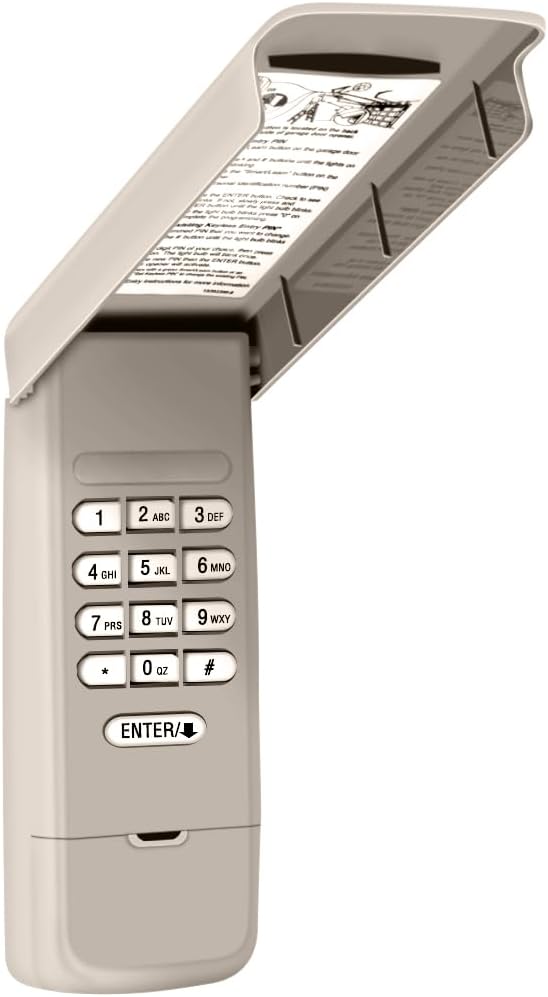
Phase 2: Clearing the Memory Cache (Optional but Recommended)
If you've lost track of who has old codes, or if you've recently separated from old sub-contractors or guests, wipe the entire radio memory bare.
- Press and hold down the colored Learn button on the motor housing.
- Keep it compressed for roughly 6 seconds.
- Watch for the adjacent LED status indicator light to switch off. Once extinguished, all remote control handsets and keypad sequences are completely purged from memory. (Note: You will need to re-pair standard car remotes after this step).
Phase 3: Programming the New PIN Sequence
Ensure you have mapped out your chosen 4-digit PIN before proceeding up the ladder. You must complete this sequence within a strict 30-second processing window once initiated.
- Press and immediately release the Learn button on your garage door opener housing unit. The programming diagnostic indicator LED will glow steadily for 30 seconds.
- Within that 30-second window, march outside to your digital entry keypad console unit.
- Carefully punch in your selected 4-digit PIN number on the backlit membrane keys.
- Press and firmly hold down the ENTER button or the ENTER/START button.
- Release the button the instant you hear the main motor overhead assembly click twice, or when you notice the overhead work lights blink. This confirms successful validation.

Troubleshooting Failed Pairings
If the light bulbs do not flash or your PIN fails to activate the track mechanism, verify the core variables:
Battery Power Sufficiency: A dying 9-volt battery can still illuminate the soft backlight of a keypad while missing the transmission power required to ping the overhead receiver logic module. Replace with a brand new premium lithium cell before retrying.
Frequency Cross-Talk: LED bulbs installed inside the garage door opener motor assembly can broadcast strong radio interference across the 310, 315, or 390 MHz bands, rendering programming sequences dead. Swap problematic LEDs out for shielded garage-rated lighting blocks if errors persist.